Styled stock photography mockups are probably the thing that will take your brand to the next level. Bringing out a cohesive, powerful styled mockup that tells a story requires some skills which are, thankfully, easy as you will realize by the time you’re done reading this article and you will no longer wonder how to edit stock photo mockups.
Mockups are made up of images. And how you edit them requires you to pour attention to detail to ensure your viewers or clients are not induced to la-la-land but are compelled to work with you.
What’s a Mockup?
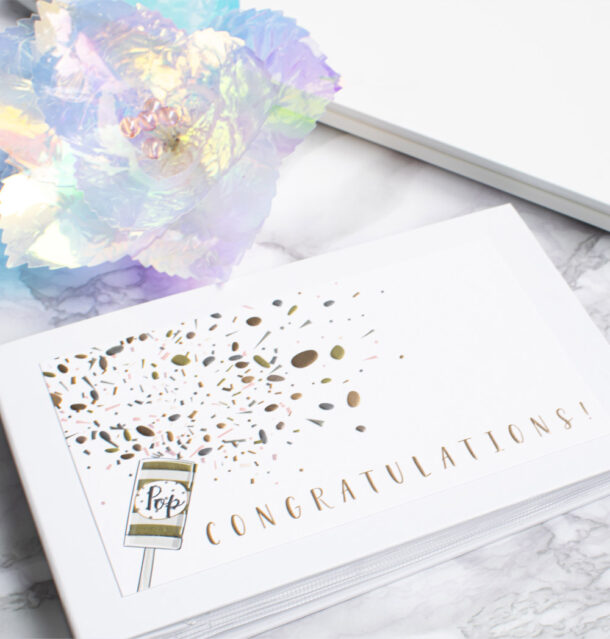
Stock photo mockups are premade images or design files that are editable allowing you to place your own designs as would be in a real-world context. Thereby allowing you to view how they would appear when applied in concrete real scenarios.
For example, you may want to know how your styled stock photo design will look when printed on a t-shirt or a foldable brochure, and so forth.
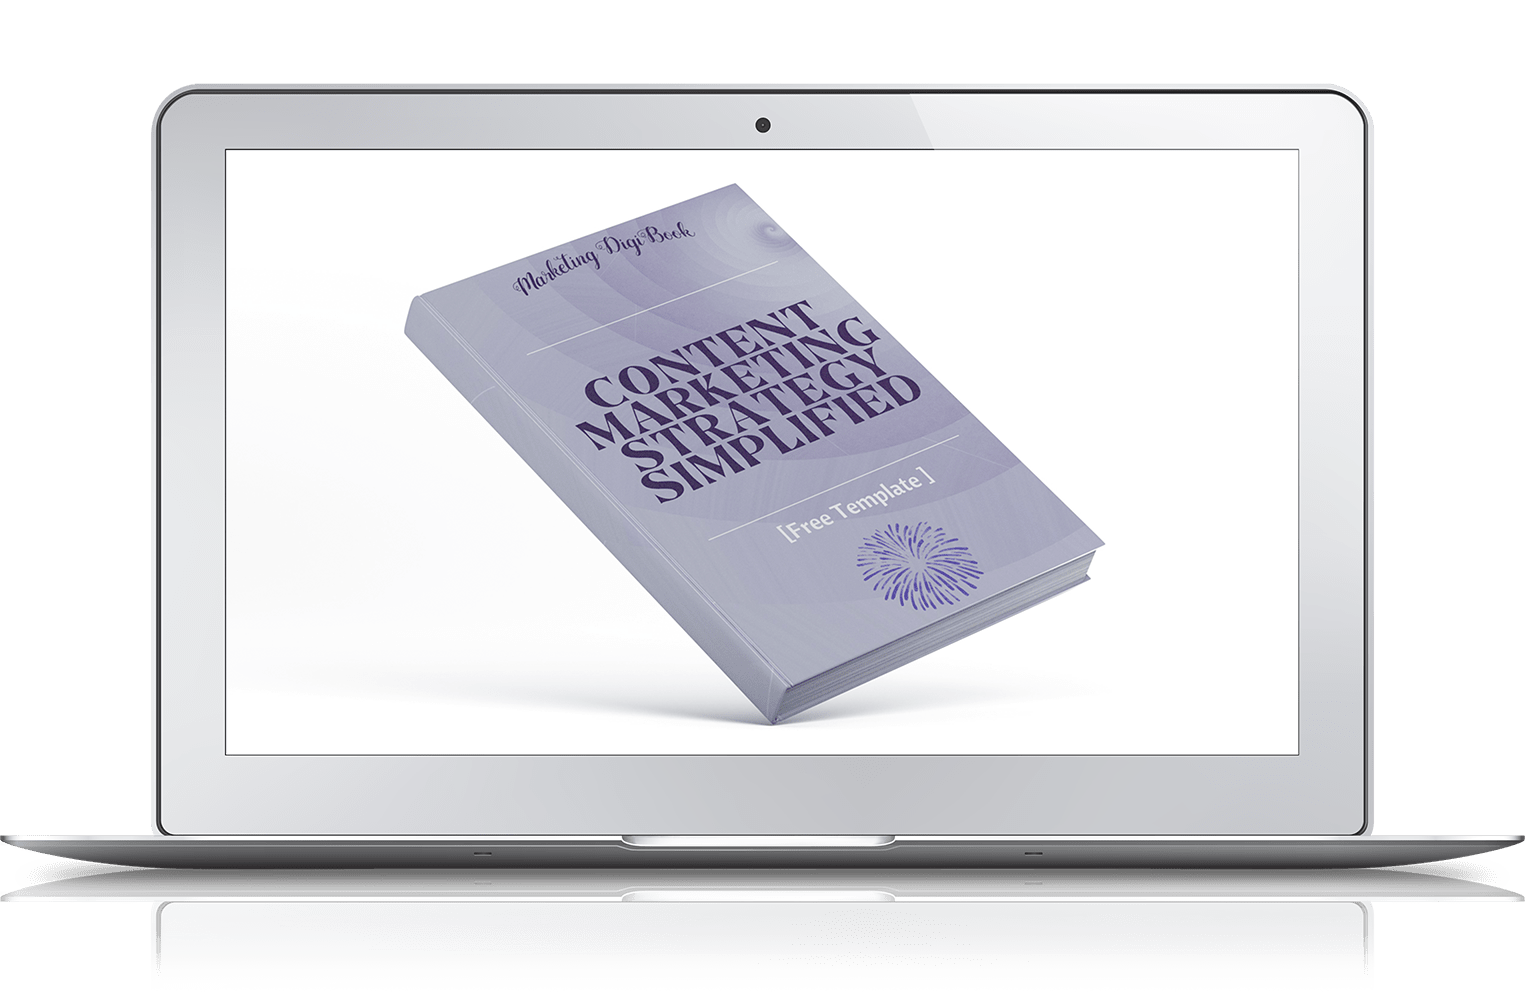
You can learn how to edit stock photo mockups in Photoshop or other equivalent tools out there.
The benefits of learning how to insert images in mockups are that they add professionalism to your work. And thereby help you sell more than just a design, but also add value to your client or simply your business.
How Are Stock Photo Mockups Used?
One reason people use stock photo mockups is that it helps them picture their own branding if it would be used in a similar way. This can go a long way in getting you more clients if that’s what you’re using it for or will simply give you an idea of how your own design at work will look like.
Stock photo mockups can be used to showcase your designs to a client to give them a more real sense of how their logo or flyer design would look like when applied. Or just feature your product or service in a more attractive manner.

For this reason, you don’t want to depict a stock photo mockup that will sell you less. You need to show your best work and this article aims to show you exactly how to use mockups in Photoshop or other tools to help you deliver and stand out.
How to Edit Stock Photo Mockups
Let’s start with how to edit mockups in Photoshop. There are many places you can find quality-styled stock photo mockups such as BizStyledStock among others.
Once you have found the mockup that’s ideal for your work, the next thing is to learn how to edit it. This article will start with Adobe Photoshop because even though there are other free options you can use; most mockups are created to be used with Photoshop.
And, therefore, would be recommended that you learn first how to edit mockups in Photoshop.
So, without further ado, here are the simple steps:
Step 1 – Download and Open Your Design
After downloading your images, the zipped folder containing them should have a file that ends with .psd, this means that it’s an editable file, double click to open it. If your folder has many .psd files, then simply pick the image or design you want to use.
Step 2 – Place It on the Smart Object Layer
With your mockup now open, the next thing to find is the Smart Object. This is a layer that enables you to personalize it while retaining the real quality of your photo no matter how many changes you try out.
Now to locate it, look at the bottom right of your screen, you’ll see a label like “Change This Layer” or “Placeholder” or “Add Your Design Here” or something similar. It’s the layer on which you can modify your mockup.
It’s also possible to have it hidden behind one of the collapsible sub-menus and therefore if you don’t see it open you can collapse them to check.
Once you’ve identified it, double-click it to activate it. Ideally, it should open in a new tab with a visible placeholder in its raw format.
With your Smart Object tab now open, you need to proceed further with the placeholder design. Simply click the eyeball icon right next to the layer to turn its visibility off. This allows you to place your own design.
The next thing after creating a stage to place your mockup is to import it. To do this, go back to the folder where your design is and drag it onto the clean canvas. Scale it to the required size and placement, then hit enter to place it. At this point, it’s recommended that your image be either JPG or PNG or a Photoshop file.
Next thing is to save this Smart Object Layer. So, go to File then click Save. Don’t worry though, this is just the layer being saved, you’re only starting.
After saving your layer go back to the original template at the top of your screen and view how your design looks with the mockup applied.
The beauty of this layer is that you can always go back and adjust it till it gives you the vibes that you’re looking for.
Step 3 – Save and Export
Your design has been put onto the mockup template, now save it and export. Saving an editable copy of your mockup allows you to go back and adjust it later if you need to. To do this, just go to File, then click Save As and then pick a location where you can save it. Only ensure to use it in the .psd extension.
To save your mockup in a usable format, save it in .jpg or .png. The only thing to be aware of is that if your mockup has a transparent background that you would like to retain, you will then have to save it in .png because .jpg doesn’t allow transparency.
Finally, you can save the usable copy, go to File – Save As then pick a location. That’s how to edit stock photo mockups in Photoshop.
How to Replace the Background
Step 1 – The background image is labeled “Edit Background” within the Smart Object layer. Double click the thumbnail, it will open in a new tab. When the file opens, it’ll have the name “Layer1.pdb”, it will have a single layer of the background image that is current.
Step 2 – Then go to File, click Place Linked, then pick a new image that you want as the background for your mockup.
Step 3 – Go to File then Save. It will update your background content automatically.
How to Use Mockups without Photoshop
What if you don’t have Photoshop? Here’s how to edit stock photo mockups with other options out there. To do this, you need to find tools that have the Smart Object feature and unfortunately, the 2 largest free tools that are almost equivalent to Photoshop, which is Krita and Gimp both lack Smart Objects.
One editing tool that has Smart Objects is Photopea. It’s free and also a great alternative to Photoshop. It’s web-based and you don’t need to download it. And since it’s quite similar to Photoshop, the steps given above will pretty much get you to editing your stock photo mockup with ease.
How to Make a 3D Mockup
Add extra effects to your mockup for an extra edge against your competition. Here are the steps: Please note, we will use a box as an example.
Step1 – Place your image
Start by placing your .jpg files on the Photoshop editor. These are the right side, front, and top of our box. To do this, go to File then Place, and then select each .jpg image then press Enter.
Step2 – Rasterize Them
With the three .jpeg images on Photoshop, the next step is to rasterize them for future editing. To do this, select these three layers by going to Layer then select Rasterize then click Layers.
Step 3 – Free Transform Tool
Begin with the front part of the box. Go to Edit then Free Transform. A selection box will appear, hold down the Ctrl/Command button then click on the middle point of the box that you want to adjust, then drag it up to look like it has an angle.
Repeat this for the right side and top side of the box. You’ll notice changes in the corners.
Step 4 – Back Corner Effects
To polish up your box for that real 3D effect, trimming the back corner will be your next step. This is done using the Rectangle Lasso Tool. To do it, select a bit of the top back and left side of the box using the rectangular lasso, and then use your Delete button. Then go to the Select tab and then click Deselect.
Step 5 – Drop Shadow
For this, you will use the rectangle tool to create a black square then use the Control button to distort it. You’ll then move this new layer under the box’s layers. To do this, go to Layers then Layer Styles, and then select Drop Shadow, then Adjust the drop shadow Settings and then click OK.
Step 6 – Give It a Reflection
Go to Layer then click Duplicate Layer, this will duplicate the right and front side layers. Then rotate them by clicking Edit, then Free Transform then Rotate. What you will get are duplicated layers. To give them an appearance of a reflection, go to Layers Masks then click Gradients, then drag over the edge of the reflection layer just a little. It will give you a reflection.
Step 7 – Final Brush Up
Finish your 3D mockup with the use of the Brush Tool. You can for instance pick the “soft and feathery dark” brush to give it a neat finish.
Wind Up
Stock photo mockups are a great asset to have in your portfolio. Whether for your own brand or for showcasing your products/services to clients. It’s therefore of absolute necessity to know how to edit stock photo mockups. This article has shown in a detailed manner how to edit mockups in Photoshop and without Photoshop. Hope it helps!
